Registered: May 23, 2004 Location: West Chester, Ohio Posts: 386
Wed, Oct 06, 2004 @ 9:52 AM
Thank you everyone. I am so overwhelmed with the responses my cards have received. I just bought my first scanner last night and can finally contribute to this wonderful website!
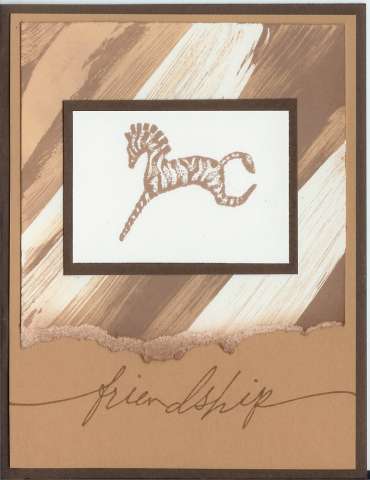
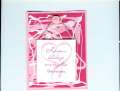
The rubber cement technique is sooooo easy. I started with a piece of glossy white cardstock. Then brush rubber cement in a diagonal pattern (or whatever pattern you want)over the glossy pattern, leaving some white spaces. Let dry!!! Then, using a brayer, brayer creamy caramel ink over entire piece. Then, go back and brush rubber cement agai, let dry, and brayer with Close to Cocoa. I used a brayer with a SPONGE roller. Let dry. Then simply rub the rubber cement off the cardstock with your fingers and voila! Beautiful background. Layer, mat and embellish as desired!
I much prefer the look of brushed rubber cement to drizzled; but that's just my personal preference. Hope this answers questions.
Registered: May 23, 2004 Location: West Chester, Ohio Posts: 386
Wed, Oct 06, 2004 @ 7:18 PM
Lauren,
The rubber cement doesn't take long to dry - five minutes maybe? Depends on how heavily you layer it. You could always brush it on, demonstrate something, let them brush it on again, and make the zebra part while the second layer dries. I did this at a stamp camp, and I don't remember it taking a long time. Good luck!!
Gorgeous. I'll use the idea to do a bunch of horsey cards I need to make for fund raiser. Zebra, horse, not much different. Thanks to you and Beate for this nifty idea. Who'd a thunk you could do that with rubber cement?