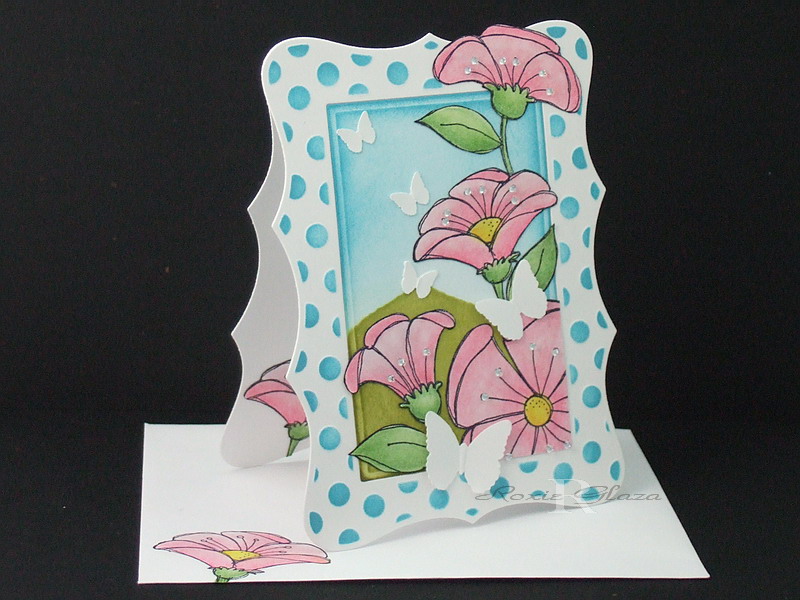
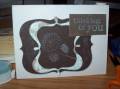
The frame is from Spellbinders Frameabilities – Polka Dot Frame. I did a normal cut for the front of the card which will cut the center completely away from the frame. Re-attached the center to the frame after sponging the background on and then attached the flowers with tacky glue.
For the inside and card back:
I cut another piece of cardstock and a piece of paper with the frame die but to avoid cutting the center out I only rolled the plates into the machine far enough to cut the edge, turned the die and repeated until all four sides are cut out.
In order to cover the tape that re-attached the center rectangle to the frame for the card front – I trimmed the top of the paper off 5/8” from the center tip which is the distance to the top of the rectangle.
For the back: I scored the cardstock piece at 5/8” from the center tip folded and glued to the card front from the score line up. So your card front and back are two separate pieces glued together at the top.
-My complete card size is 5 ¼ x 3 7/8” and will mail in an A2 sized envelope like we use for the 4.25 x 5.5” cards.
-The scene was created by tearing a piece of paper in two and using as a mask first for sponging on the sky, then the ground areaÂ…use both pieces of paper - one for each step.
--Prismacolor pencils, baby oil and paper stumps were used to color the image using the Gamsol technique found in the resources section here at SCS. Baby oil replaces the Gamsol. They were then cut out the edges colored with a black marker and glued to the card.
-The gems are attached with Diamond Glaze (any lacquer product will work). To make the process fast and easy I squeeze a drop of lacquer onto a waxed paper (I repurpose the paper that stickers and labels are purchased on), touch the end of a large corsage pin to the lacquer then to the back of the gem which picks it up, position it on the image and press down with a finger, there is a little time to slide the gem into position if needed before it sticks tight.
-The butterflies were paper sculpted using a metal ball stylus only on the body. This gave little dimension and a cavity to hold the tacky glue for attaching to the card.
Tools: Frameabilities – Polka Dot Frame, metal ball stylus, corsage pen, Martha Stewart butterfly punches, Ranger – sponge and adaptor, cutting scissors
Date: Thursday, April 29, 2010 GMT Views: 1377
Favorited:28
Registered: November 12, 2009 Location: Living in Western North Carolina in the mountains of beauty. Posts: 2551
Fri, Apr 30, 2010 @ 4:29 AM
Very pretty card... love the gems and the butterflies.. the way you have used the die is great... will have to give that trick a try... thanks for always giving so much... love this one.
------------------------------ I would love to have you visit myblog where my Art of all kinds is on display for you to enjoy...
Splitcoast DirtyDozen Alumni Proud Fan Club Member
Registered: February 22, 2006 Location: Casselberry, Florida Posts: 46530
Fri, Apr 30, 2010 @ 6:31 AM
Wow! Rox, this is beautiful! I love the colors and design of your card. My sister has that stamp, so I'm going to e-mail her the link to your card. I think she would love to try to CASE it!