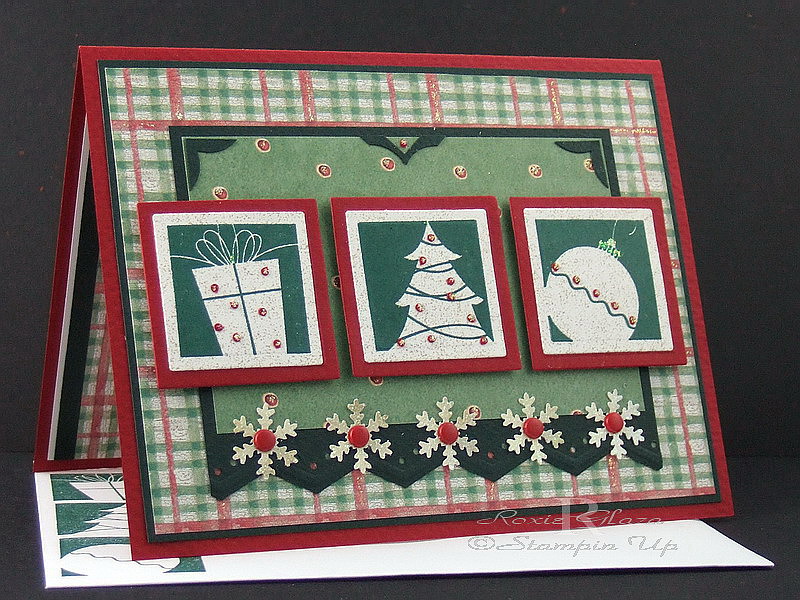
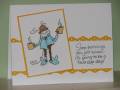
Measurements: From the top…Squares – 1 5/16” square plus 1/8” border, green dot designer paper - 3 15/16 x 2 ½”, hunter green border punch panel – 4 1/8 x 3 1/8”
-The images are solid stamps with 1/16” punched circles glued on and stickles added to the circles. Those tiny punched circles pick up very easily with a straight pin dipped in glue then touch the circle back which picks it up and press onto the card…super fast and easy!
-To tone down the white on the image panels I used a coarse 4” square sponge, pressed onto the ink pad then onto the panel one time and lifted, that was just enough to make it match up to the off white in the plaid.
-Stickles was also added to the designer paperÂ…while I was on the phone with my friend and I wanted something to do after the card was finished!
Date: Tuesday, October 13, 2009 GMT Views: 4821
Favorited:41
Paper: White, Archiver’s - red, green textured cardstock, designer paper: The Paper Studio – plaid, unknown green dotted, glitter paper from a recycled greeting card
Ink: Stampin Up: Classic - Handsome Hunter, Ranger: Tim Holtz - frayed burlap - for toning the white
Accessories: Nestabilites, EK Success – Iron Eagle punch, 1/16” circle punch, Martha Stewart – border punch, Marvy – snowflake punch, Stickles, Paper Studio – red brads, sponge, tacky glue, straighter pin
I like your coordinated card and envelope. Your card gives me so many ideas to jump start this sketch tonite. I will try and make a card tonite after work. TFS