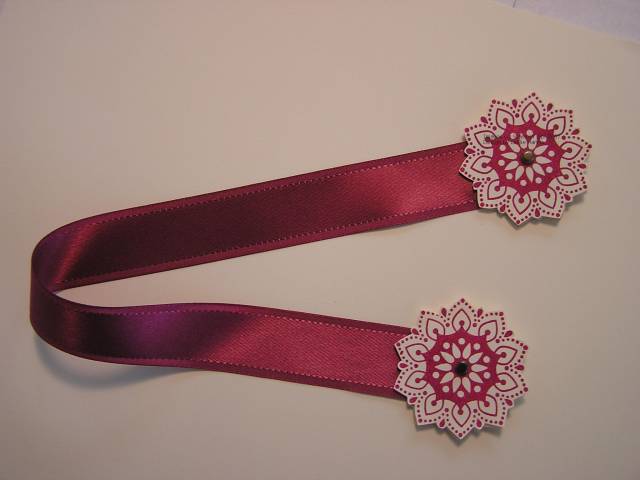
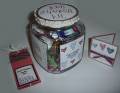
I wanted to use this delicious satin ribbon to make a bookmark for a project for my Holiday Stamp Camp. I could not find any samples, so I winged it!
I snailed the ribbon to the back of one of the images, applied two dimensionsals, then stuck the second image over it, trying my best to line them up. I did the same thing on the other end.
I think it came out great! I am, of course, open to alternative suggestions for adhering images to the ends.
TFL!
Date: Thursday, October 11, 2007 GMT Views: 2693
Favorited:121
Registered: March 9, 2006 Location: In the sunny south Posts: 190
Thu, Oct 11, 2007 @ 3:34 PM
It's true a picture is worth a thousand words. I was completely confused as to what you were doing until I came here and saw your georgous bookmark. I'm really going to have to get some of that satin ribbon after all. I don't think I'd change anything. It is perfect as is.
Registered: March 15, 2007 Location: Sacramento, CA Posts: 2
Thu, Oct 11, 2007 @ 5:07 PM
Awesome idea! I saw somewhere (of course, I can't remember where) that someone was able to put eyelets on the front AND back of something in the same place. That might work really well for this project! I'm going to make some of my own too. Thanks a bunch.
Registered: March 8, 2005 Location: Southwest OH Posts: 2721
Thu, Oct 11, 2007 @ 5:54 PM
For those who have asked, I stamped and cut 4 images. There are two on each end, back-to-back, held together by Dimensionals, concealing the end of the ribbon. I hope this makes sense ...
The brad (I meant eyelet) on both sides intrigues me. I will have to practice that when I get home (I am on vacation with limited supplies ... all the stuff I bought and have never used.)
And I am sorry for the enablement. I only have the ribbon myself due to a previous enablement thread, so it seems only fair. ;-)