A Wiper Card tutorial is posted here at Splitcoast Stampers although I'd referred to those provided at our stamping meeting.
Essentially, the card base is 'two of:" 4 1/4" x 6 3/4". Each piece gets scored at one end, on the long side, at 1" and at 1 3/4".
Burnish well: Mountain Fold score line next to largest panel, Valley Fold the next score line, on both pieces.
The wiper piece inside is: 2 1/4" x 3". You will score across a corner (diagonally) with the point of the corner at the 1/2" mark on your trimmer.
Front and back panels, cut 2 each of: Mat color: 4" x 4 3/4". White panel: 3 3/4" x 4 1/2"
Side pieces: Matted DSP: 3/4" x 4". Stamped sentiment: 1/2" x 3 3/4". Side Strip (DSP): 1/2" x 4"
NOTE: Wiper mechanism will not work until your card front and back are snailed together (which is the LAST step you'll do).
Thanks for looking!
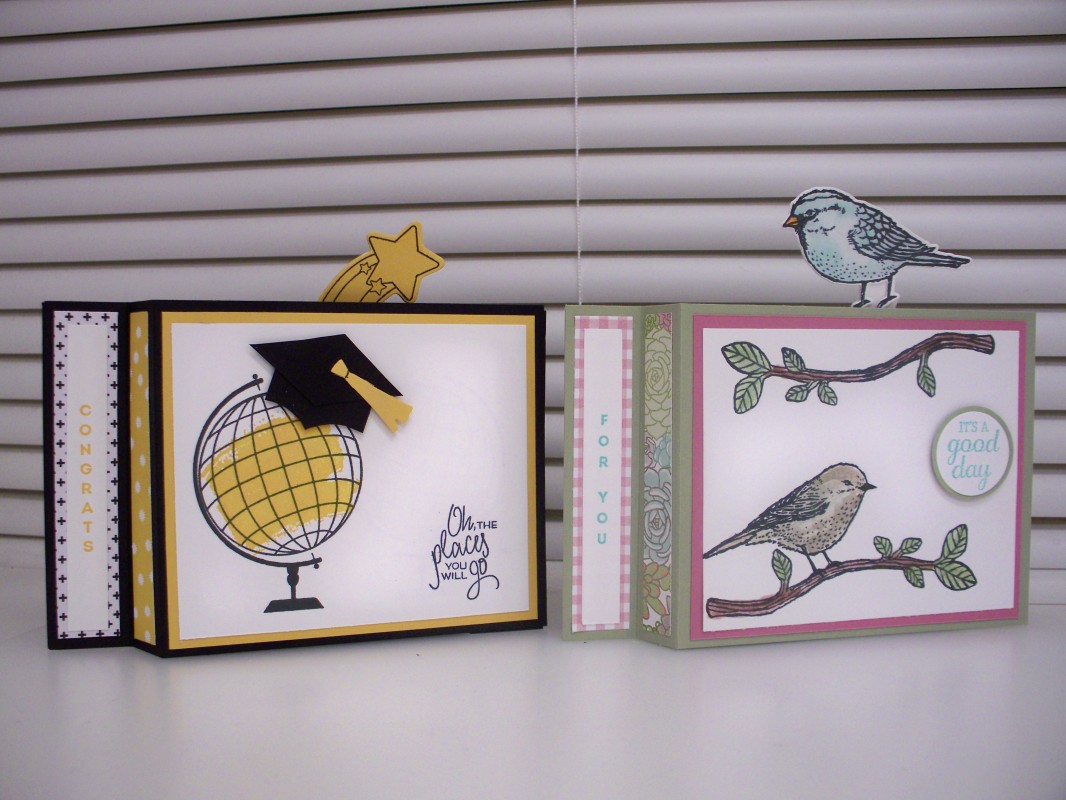
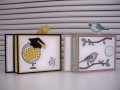
Globe:
Stamps: Places You'll Go, Shooting Star, Vertical Greetings
Paper: Basic Black, Crushed Curry, Whispewr White, DSP Pop of Pink and ?
Ink: Basic Black, Crushed Curry
Accessories: Framelits: Shooting Star & Balloon Celebration, Paper Snips, Tombow Liquid Glue (wiper pc.), Scoring Tool (paper trimmer)
Best Birds:
Stamps: Best Birds, Vertical Greetings
Paper: Pear Pizzazz, Sweet Sugarplum, Whisper White, DSP Succulent Garden
Ink: Memento Black, Blender Pen to ink pad lids: Pool Party, Pumpkin Pie, Pear Pizzazz, Chocolate Chip, Crumb Cake
Accessories: Framelits Layering Circles, Punch 1 1/4" Circle, Paper Snips, Tombow Liquid Glue (wiper pc.), Dimensionals, Scoring Tool (paper trimmer)
Date: Monday, May 29, 2017 GMT Views: 1036
Favorited:3