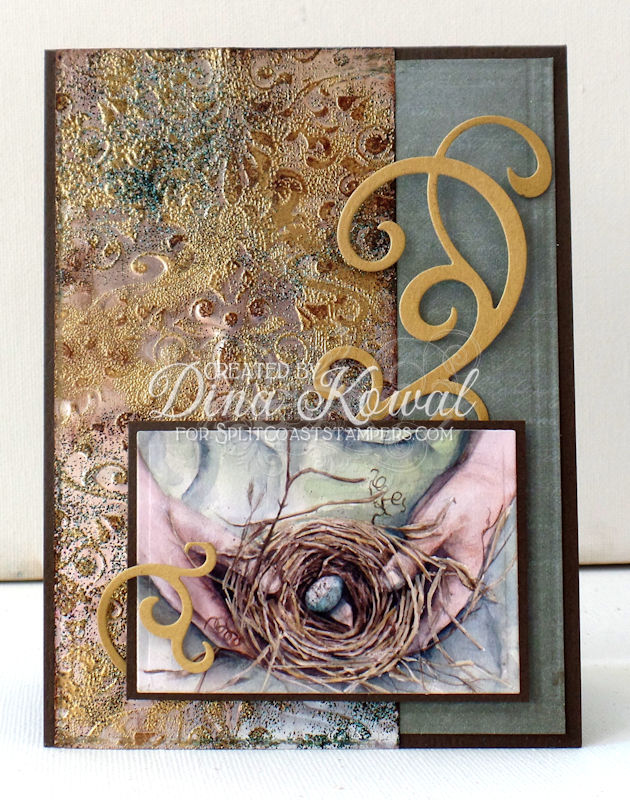
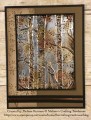
The tutorial recommends using black StazOn ink, but I used Timber Brown on mine and I liked the results better. My base is a silver label sheet from Silhouette - these are adhesive on the back, which was really handy. I embossed the sheet with a folder from Darice, then added gold and verdigris embossing powders. After the heat embossing, the final step is to rub ink over the raised areas to make them look tarnished. Lots of steps, but such a great effect! The focal piece is a mini print of one of my watercolor paintings.
Date: Tuesday, April 11, 2017 GMT Views: 7128
Favorited:14
Accessories: Foil sheet (Silhouette), embossing folder from Darice, die from Impression Obsession, mini art print (Dina Kowal Creative), gold and verdigris embossing powder, heat tool
Just wow! And I love the harmonizing patterns of the foil, the die cut and the nest. And thank you for answering my question in the SCS tutorial today.
ETA: the link to more details on your blog gives me a message that the server can't be found. : (
Registered: December 3, 2009 Location: Central PA Posts: 58001
Wed, Apr 12, 2017 @ 11:26 AM
Love the touch of blue green! I wish I had gotten the copper embossing powder from SU. The only blue I had was tempting turquoise, and I didnt think that would work. Maybe I should have tried, now that I see yours.
Registered: May 12, 2016 Location: NW Wisconsin Posts: 8485
Sun, Apr 30, 2017 @ 6:05 PM
Wow! Your tarnished foil technique is outstanding Dini! And your mini watercolor image is equally spectacular!! The swirly diecut(s) is a lovely accent. Love everything!!
------------------------------ ~Jeannie~Be the reason someone smiles today!