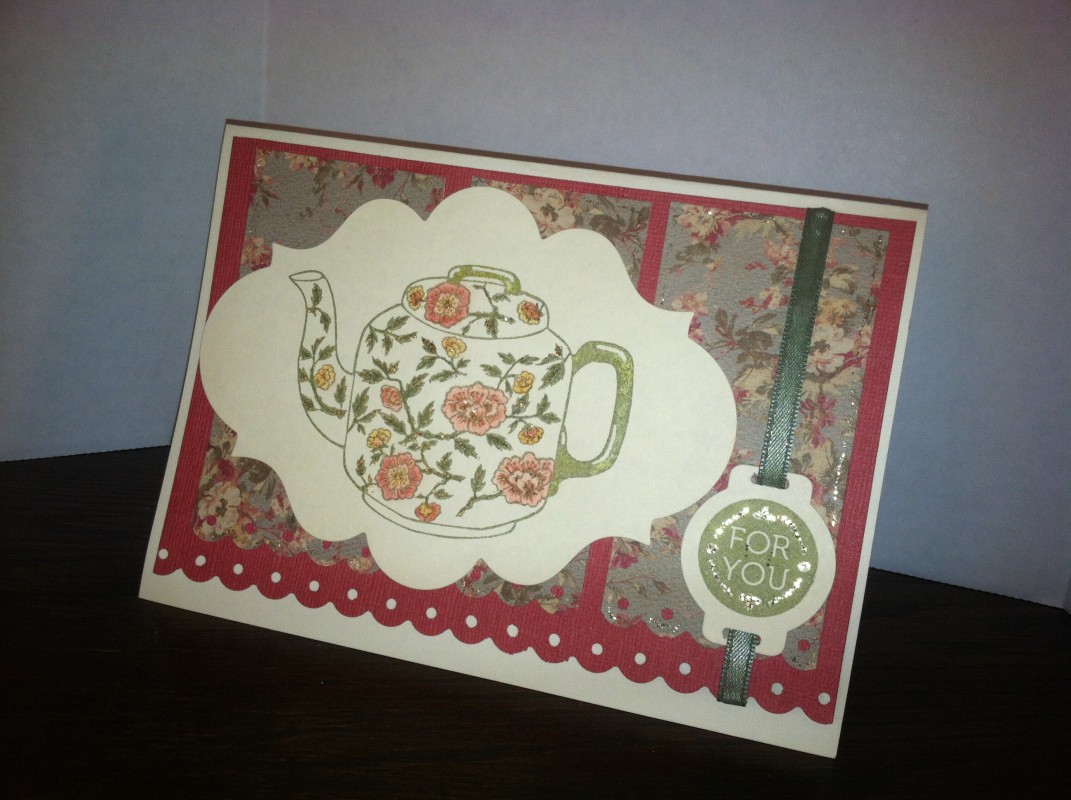
I wanted to try something a little different on this one. I edged and layered the red cardstock, then edged the patterned paper, but then decided to cut it into panels so you could see the red more.. mistake! I had one heck of a time trying to space them properly. I think I would have been ok if I'd not edged them too... if you look closely, you can see the spacing is off.. but it was close enough. I was tired of messing with it. I offset the teapot so I could add the ribbon slider. I colored cream ribbon with my Mellow Moss marker to match the ink on the tea pot and for you stamp. You can't see it very well in the picture but I used stickles gold glitter on all the foliage on the teapot, the for you stamp and along each edge of the patterned paper. Overall, I am happy with how it turned out. Other than the spacing of the panels being messed up, that's why I gave it a difficulty of 3. (is there a proper technique to do that, so it works out evenly?) Thanks for looking!
Date: Monday, September 12, 2016 GMT Views: 606
Favorited:3
Registered: November 24, 2013 Location: NYC Posts: 17683
Tue, Sep 13, 2016 @ 4:08 AM
Really nice! I didnt see the spacing till you told me and my eye always sees it. I like the play of the reverse patterns betwen the pot and the DP. Nice idea to ink your ribbon!
If you mean laying them perfectly even from each other...rulers are my friend. I find it helps if I have a good distance between like 1/4, 1/8 vs X/16ths.
------------------------------ Margot
I am a proud fan club member