I have learned alot during the building of the layout...
here are the goals of Step 3
*During this step you can fill up as much of the space as you like, or you can leave room for extra embellishments or a title if you would like one. We will be back next week to add a few more touches and all the text.
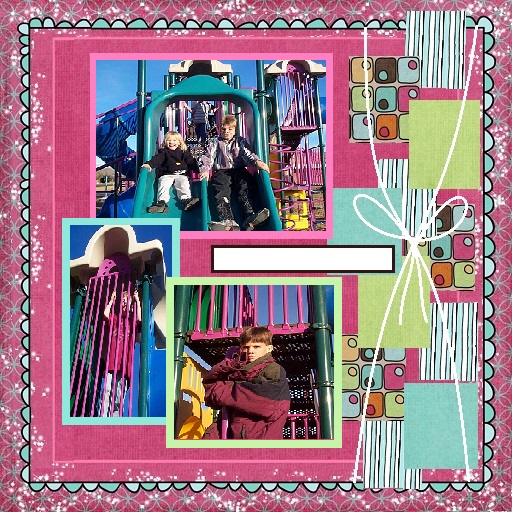
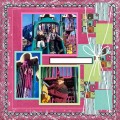
-Add a large journal area 2/3 of the way down your square shapes. (We will add the text next week)
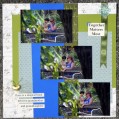
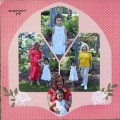
-Place your photos on the left side of the page, as you like. You can use as many pictures as you want, or only 1 if you want. Consider rounding the corners, or making a photo into a shape.
-Optional: You can add a thin border of neutral color behind any or all of your photos.
-Add some more of the little squares (or the shape that you used) behind your photos. They can be straight or tilted. Add at least 3!
Date: Wednesday, September 30, 2015 GMT Views: 347
Favorited:2