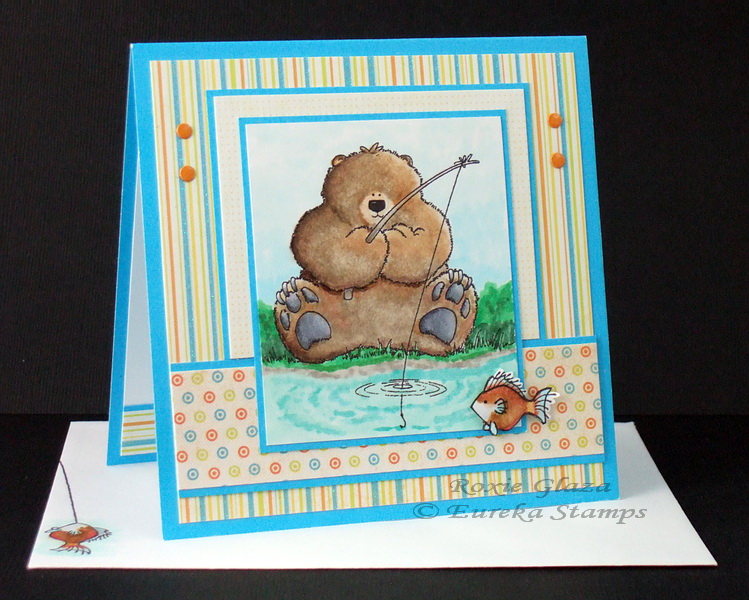
Copic markers: grass – G02,03,07, background foliage – G03,09,28, YG61, ground – W1,3,5, water – BG10,11,13,15, sky – B0000,000,00, feet pads and claws – C00,02,04,05,07, fur – E21,25,31,35,40,42,44,47, pole – W1,3,5, fish – B000,00, C0,1, E02, 08,37, YR23
The Perfect Layers tools from Perfect Paper Crafting was used to cut the borders. Use any brand craft knife or rotary cutter for cutting. A tutorial video can be found on the company site.
The faux brads are circles cut from a tag Cuttlebug die that I glue to the card then applied Aleene’s Paper Glaze to make it shiny – the perfect brad every time! I use the CB die because it rounds the edges like a real brad. These are very easy to pick up with a straight/stick pin dipped in glue then touch the back of the circle and it’ll pick it up, place it on the card and press down with the finger and pull the pin away – it will allow you to move if needed before the glue dries.
The fish was cut out after coloring and I used a large metal ball stylus to emboss from the back then mounted it on the card with a foam pop dot. The fish is from another bear image and after finishing the card I thought it needed something extra so I inked up just the fish to use on the card and one the envelope the same fish was used along with the line.
A2 sized envelope for the square card: I always use an A2 sized envelope for my square cards so I don’t pay extra postage. I cut a piece of junk cardstock 4.25 x 5.5” and to make it easier to pull the card out of the envelope I punch a shape (usually a V/half square or Stampin Up photo corner punch) at the half way point of the top edge as long as embellishments aren’t directly underneath because this cardstock also acts as reinforcement/protection for embellishments as it goes through the sorting machines.
If you donÂ’t have a suitable punch just cut the V with scissors.
Dot some glue about ¼” from each edge and tuck it in the envelope so the glue sticks to the front of the envelope. Then the card tucks in between the envelope front and the cardstock and doesn’t shift around during travel.
A tutorial with photos can be found on my blog here.