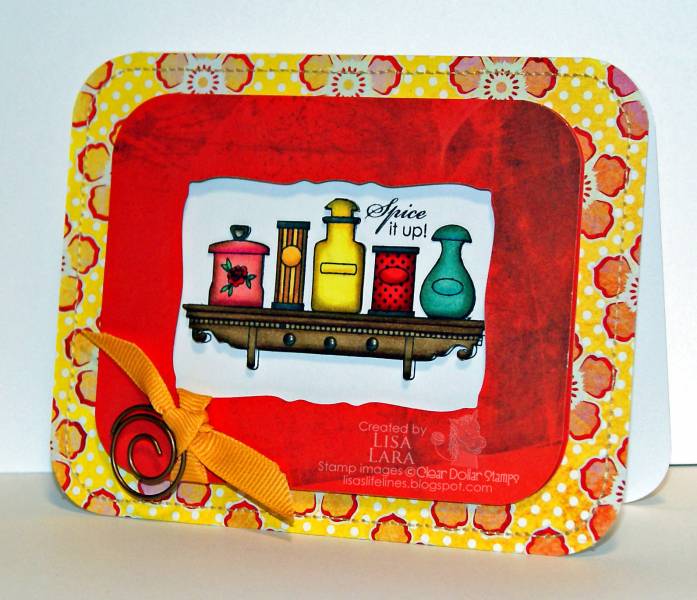
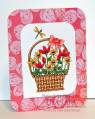
I made my shadow box frame by cutting the paper the size I needed then positioning the nestability die in the center and taping down to hold it in place. I popped up the shelf with dimensionals but the jars are glued with different layers to give dimension. The frame has two layers of dimensionals.
TFL
RECIPE:
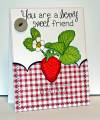
CDS Stamps Used: Vintage Spices
Paper: Cottonball White, June Bug by Basic Grey (both from Clear Dollar Stamps#
Ink: Momento Tuxedo Black #from Clear Dollar Stamps#, Bic Mark-It Markers, Tim Holtz Distress Ink Walnut Stain
Accessories:Bee Pollen Grossgrain Ribbon #Clear Dollar Stamps#, Coil Clip, Micro Brads #Recollections from Michaels#, Paper Piercer, Needle, Yellow DMC Floss, Mouse Pad, Pencil, Ruler, Score Tape #from Clear Dollar Stamps), Dimensionals, Spellbinders Labels Nestabilities, Tim Holtz Blending Tool
Techniques: Sponging, Hand Stitching, Shadow Box Frame
Date: Monday, May 17, 2010 GMT Views: 340
Favorited:2
Splitcoast Dirty Dozen Alumni SCS Gallery Moderator Splitcoast Challenge Hostess Teapot Tuesday TEAm
Registered: July 27, 2007 Location: Dublin, Ireland Posts: 131397
Mon, May 17, 2010 @ 11:45 AM
Never mind embossing the frame, I was looking at yours wondering why I hadn't thought of using the fancy shape for the inside, with a plain outside, like yours .
Registered: February 1, 2005 Location: Temple, Tx Posts: 37720
Mon, May 17, 2010 @ 5:14 PM
Ooooh, Lisa...this is GORGEOUS!!!!! I just love the bright, bold colors and your coloring is over the top, gf!!!! Love how you designed the frame, too, and the rounded corners look AWESOME!!!!!!!!


 .
.


