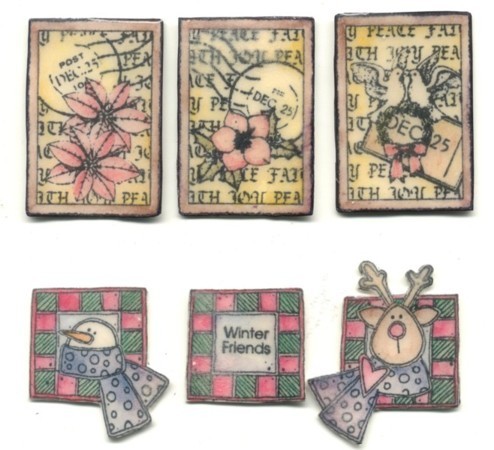
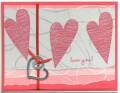
Thanks to SweetHeidoJo for the instructions...and let me just say I am in awe of all the ladies who have done these before me...especially those with lots of details!! Sadly my watercolor crayons changed colors with the heat gun (mainly the blue went purple?) -- and after all that work to cut them out! Warning: don't let your knuckle dip into boiling hot EP!! I think I have a second or third degree burn!! :o)
Date: Thursday, October 13, 2005 GMT Views: 1247
Favorited:18
Registered: June 24, 2004 Location: Troy, Ohio Posts: 2809
Thu, Oct 13, 2005 @ 4:43 AM
These are awesome Chris!!! I think you might have gotten a pleasant mistake with the colors changing. They look great! I think these will sell easy peasy!!!!
------------------------------ {Heidi} Trying to get ready for my first craft show!
Registered: March 3, 2005 Location: Washington DC area Posts: 6019
Thu, Oct 13, 2005 @ 2:52 PM
These are instructions from SweetHeidiJo herself! Be sure to look at her pins because they are very, very nice.
1. Stamp your image 4 times on a white sheet of paper.
2. Color only one of the images.
3. Cut out each of the images but give some room on the sides to trim down later.
4. Glue (I use crystal effects) 2 pieces together with the colored image on top and continue to glue until all pieces are glued together and feel thick.
5. Once glue dries (dries really quick w/ cr. effects) take your scissors and trim around the main image to get the look that you want.
6. Push image into Versamark or embossing pad and add clear embossing powder, heat, and repeat 2-3 times so you have 3-4 coats. If you have ultra thick ep then it takes less.
7. Let it cool and add a pin onto the back.
It's pretty simple just a little tedious at times.
tee hee...that last part is the truth! :o)
------------------------------ ~~Chris~~
See what's new at CTMH
visit me! Stamped Blessings