This actually fits two technique challenges, one for showing the inside of the card and the other is to make our own designer paper and when I made my first panel I discovered a new way to use clear stamps and had to show my friends this idea so I was forced to make another card and use the panel. So cool but I no doubt IÂ’ve discovered anything new that someone else hasnÂ’t already done.
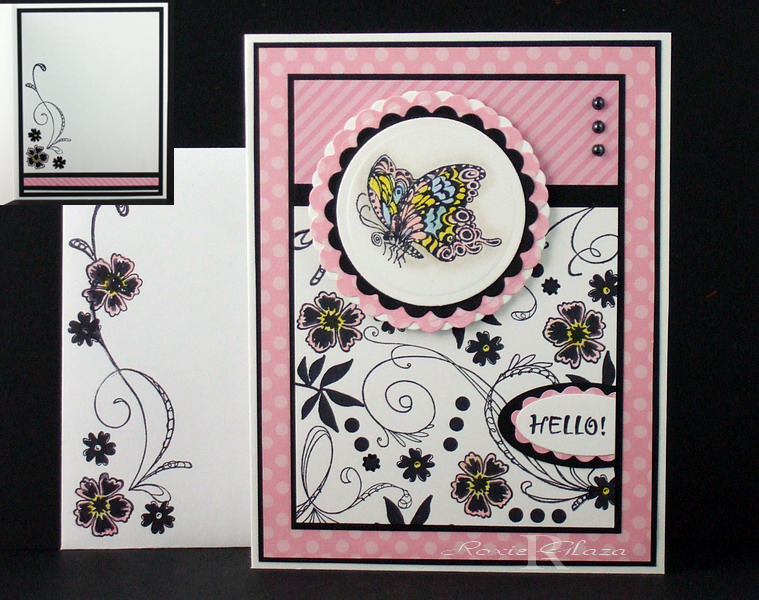
-Place the flourish images (all from one set so they are all the same height) on the panel as you would like to see them stampedÂ…place the acrylic block over them and press down but before you raise the block, line up the stamp positioner to the block, now left, ink up and stamp and itÂ’s just the way you set it up.
-Prismacolor pencils, baby oil and paper stumps were used to color the image using the Gamsol technique found in the resources section here at SCS. Baby oil replaces the Gamsol.
-The pearls are attached with Diamond Glaze (any lacquer product will work). To make the process fast and easy I squeeze a drop of lacquer onto a waxed paper (I repurpose the paper that stickers and labels are purchased on), touch the end of a large corsage pin to the lacquer then to the back of the gem which picks it up, position it on the image and press down with a finger, there is a little time to slide the gem into position if needed before it sticks tight.
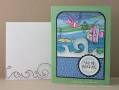
I made a boo boo on my envelope flourish and no way will I throw it out so I added extra flowers and a partial flourish to cover my mistake enough to make it usable.
I also meant to have my main panel the opposite way and sorta goofed when I taped it down and since I glue the corners there is no way itÂ’s coming off againÂ…that is point of using glue!
Also, if you havenÂ’t noticed my now some of my technique descriptions are word for word to other card IÂ’ve uploadedÂ…thatÂ’s because I type it out once, save it a word file and cut and paste it when I need it. It gives the viewers all the details without a lot of typing!
Tools: corsage pin, cutting scissors, stamp positioner, paper stumps, Nestabilities, Fiskars scallop scissors, Stampin Up oval punches
Date: Monday, March 29, 2010 GMT Views: 918
Favorited:10
Registered: January 6, 2004 Location: Connecticut Posts: 20543
Mon, Mar 29, 2010 @ 3:00 PM
Love your color combination and all the wonderful design elements!
------------------------------ Rediscovering the simple joy of stamping and exploring my art! Stamp your ART out! Share your thoughts. Let your heart sing.
Come check out my Gallery and leave a comment!
FS465
Registered: November 3, 2005 Location: Fairport Harbor, OH-IO, Lake Erie shoreline Posts: 59994
Mon, Mar 29, 2010 @ 6:10 PM
Fabulous color combo! Once again you are impressive. I love your flair. You know you can always use UnDo - no one would ever know and it leaves no residue. I use it a lot!! Too bad you told us about the mistake on the envie!! Shows us you too are human!!!! LOL
------------------------------ Karen ~ Thanks for stopping by my gallery. Proud Fan Club Member - FS525, QFTD49 Life is better in a beach town!
Registered: July 20, 2007 Location: Fergus, Ontario, Canada Posts: 52517
Mon, Mar 29, 2010 @ 8:53 PM
Roxie, this is so pretty! Now, admit it, this wasn't a challenge for you, as I see you stamp the insides of your cards and also your envelopes on a regular basis!
Thanks so much for the mini tutorial......others may have tried this, but I haven't, so it was definitely useful for me!
------------------------------ Ina
"Surely His salvation is near those who fear Him, that His glory may dwell in our land." Psalm 85:9