Registered: July 18, 2006 Location: Beautiful, British Columbia, Canada Posts: 24229
Tue, Mar 10, 2009 @ 9:01 AM
Well done.
------------------------------ "For I am confident in this, that He who began a good work in you will complete it until the day of Christ Jesus" Phil 1:6 Verve Diva My Blog My SCS Gallery
Registered: March 17, 2006 Location: Lugoff, S.C. Posts: 4379
Tue, Mar 10, 2009 @ 11:51 AM
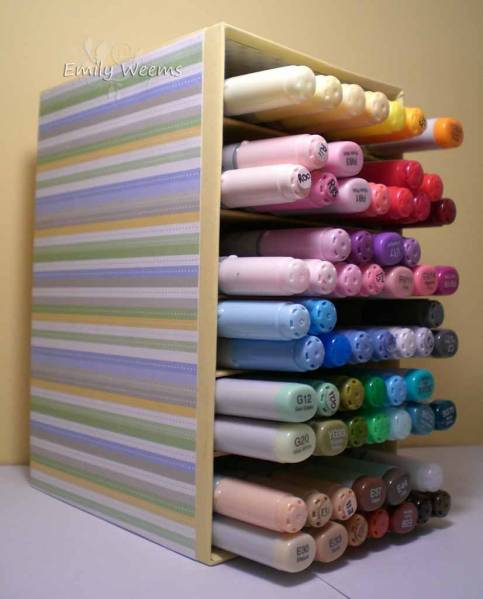
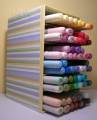
It's a little hard to explain, but hopefully this makes sense. Start by cutting 4 pieces of cardboard. You want two for the sides, and two for the top/bottom. My sides are 7" and the top/bottom are 4". Tape them together to form a rectangle. Then cut another piece for the back that's approximately 7" X 4". I just played around with it and keep cutting until it fit pretty good. Tape it in place really well. I used a lot of tape to make sure my box was sturdy. Then decorate it. After you have it decorated, you can make the 'shelves'. I used 5. I made mine barely under 4" X 4.5". You want them to fit pretty tight, and they all need to be exactly the same. I then cut paper that was just under 4" by 9", to cover the shelves with. After that's done, flip the box on it's side and put in all of the shelves (without glue) to get an idea of placement. I tried to space them evenly (although, if I had thought about it, I would have made different sized spaces, since I have a lot more of some colors that others). I left just enough room in each one to fit two rows of markers. After you've decided where you want them, generously apply glue to the 3 exposed cardboard edges of the shelves and just slide them in. With the box still on it's side, put something heavy on top to keep the shelves in place until they dry. That's all there is to it! Hope all that made sense! .


 .
.