Hi everyone and welcome to another Technique Tuesday! Today I have a photo tutorial for you using Distress Markers, which are new markers from Tim Holtz that react with water. They're perfect for watercoloring!
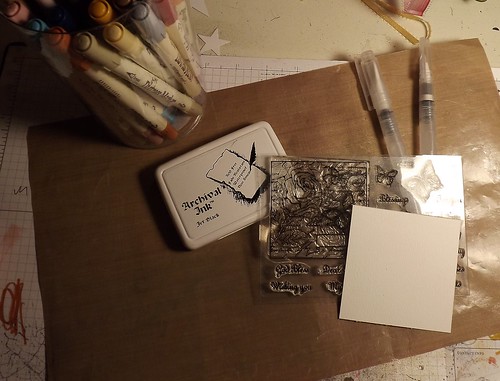
First, you'll want to gather your supplies; Distress Markers, non-stick craft sheet, Archival Ink (you must have an ink that is waterproof!), stamps, watercolor paper, and watercolor brushes. (I'm using a two brushes from Ranger, one with a detail tip and one with a wide tip. Both of these brushes have an area that holds water so that the tip always remains wet. Love these!)
Next, stamp your image onto the cardstock. **NOTE** I am using watercolor paper for today's card, which I would recommend for this technique. Because of the texture of watercolor paper, you will need to press the stamp very firmly to get a clean impression.

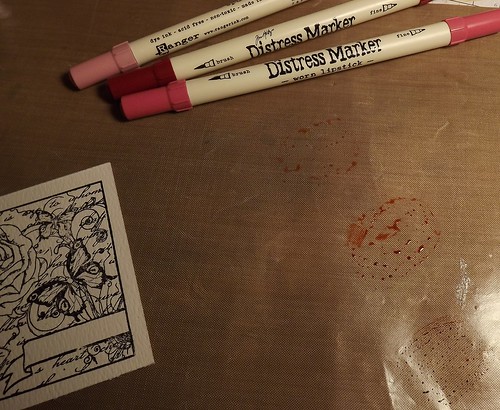
Pick your marker colors and scribble with the marker directly onto the craft sheet.
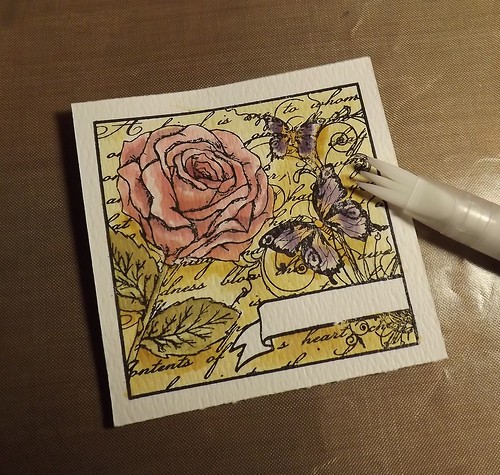
Use your watercolor brush (I used the detail tip for coloring the images) to pick up color from the craft sheet and begin painting your image.
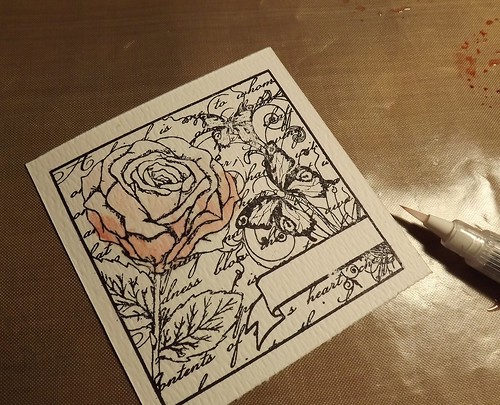
Start with your lightest shade and then continue to add darker colors for shading. You may want to also use a heat gun to dry an area if you feel the paper is getting too wet or if you want to create a more defined shaded area.
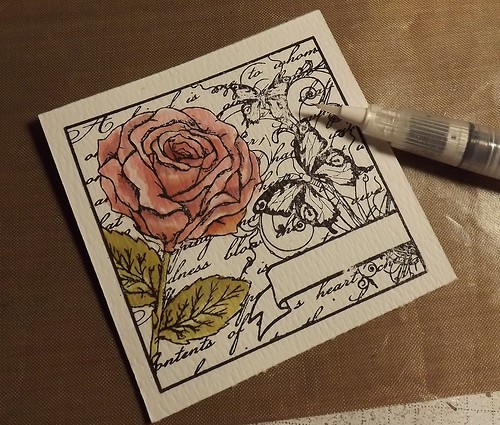
Now use the wide tip brush to color in the background of the image. (This is also a great way to add a wash to the background of a card, such as the illusion of sky or water). I also went back in with my detail brush to add some shading.
Assemble your card!
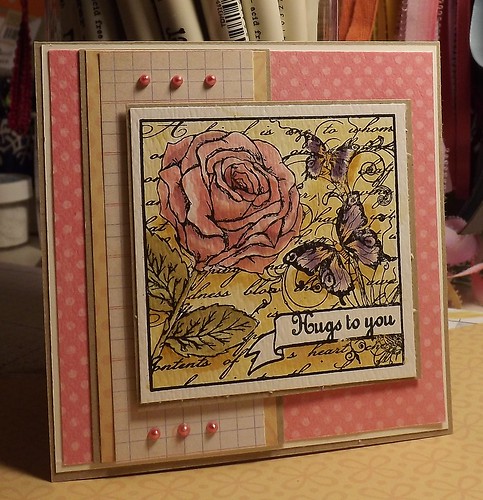
Here is a link to my card in my gallery -
Hugs to You
I hope you enjoyed today's tutorial! If you have Distress Markers, why not create a card and stop by to share your creation with us...we'd love to see your work!! Just leave a comment on this thread with a link back to your gallery page, we'll come for a visit!!
Thanks so much and have a great day!
Kim


