Criss Cross Card
by Beate Johns
Try this twist on a pocket card and show off your patterned paper.
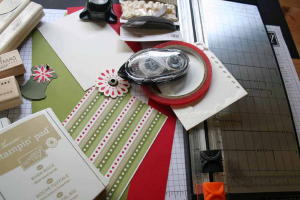
Supplies
- Two 4 1/4" x 11" pieces of cardstock for your card base
- One 4" x 5" piece of patterned paper
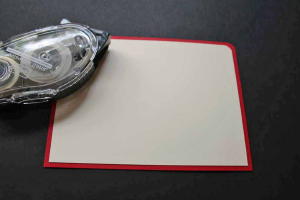
- One 3 3/4" x 5 1/4" piece of cardstock for insert
- One 3 1/2" x 4 3/4" piece of neutral cardstock for insert
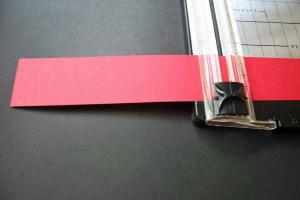
- One 1 1/2" x 12" piece of colored cardstock for card band
- Ink
- Stamps
- Adhesive
- More paper for accents
- Corner rounder
- Embellishments
Step-by-Step
-
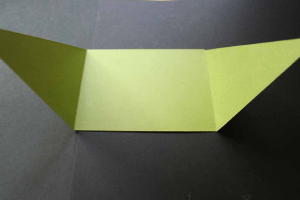
Step 1
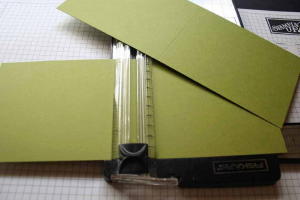
Score both 4 1/4" x 11" pieces of cardstock at 5 1/2".
-
Step 2
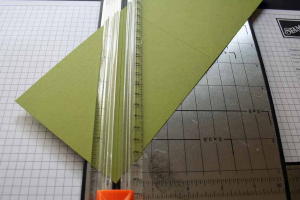
Take one scored piece and cut it diagonally from center top to the bottom left.
-
Step 3
Take the other piece of scored cardstock and cut it diagonally from the center top to the bottom right.
-
Step 4
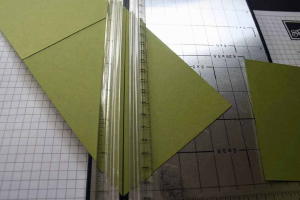
Add adhesive to the rectangle back of one of the cardstock pieces.

-
Step 5
Tape both pieces together. Make sure both long edges of the diagonal sections are on the bottom.
-
Step 6
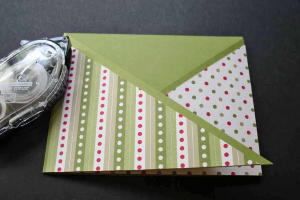
Cut the patterned paper in half diagonally.

-
Step 7
Adhere it to your card front. I used double sided patterned paper (Dashing, from Stampin' Up!). The dotted paper is on the back of the striped design.
-
Step 8
Add Sticky Strip™on the bottom of the middle panel, as well as on the bottom of the triangle flap that will be on top of the card.
Tape the card base together and set aside.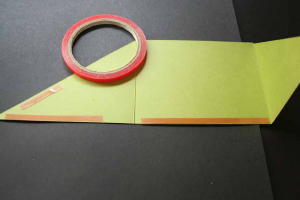
-
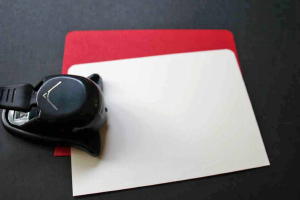
Step 9
Take both pieces of cardstock for the insert and use the corner rounder on the top corners.
-
Step 10
Tape together.
-
Step 11
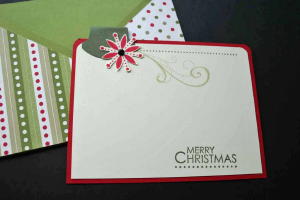
Stamp and add tab and other embellishments as needed.
-
Step 12
Take the 1 1/2" x 12" piece of colored cardstock and score at 5 5/8" and 11 1/4".
-
Step 13
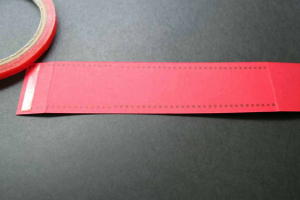
Add Sticky Strip™ to the end of the strip with the small 3/4" scored section. Tape band together.
-
Step 14
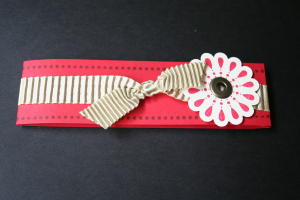
Decorate the card band.
-
Step 15
Slide your band over your card.
Your card is finished!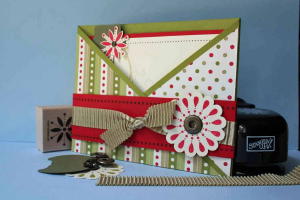
Video!
Variations
-
Vertical Criss Cross Card
Start out with two 5 1/2" x 8 1/2" pieces of cardstock. Score both pieces at 4 1/4". Continue with the tutorial at step 2.
Change it up
- Instead of patterned paper, try stamp directly on the card base.
- Stuff the pocket with little tags or a flat gift instead of pull out card.
- Leave off the card band.
- Make a square, change the size.....
Your turn to get creative.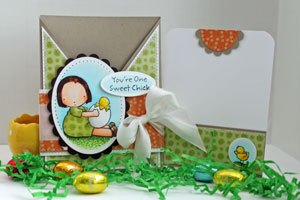
Your Turn
You've seen the tutorial, now you try it! We've got a section of the gallery set aside for Criss Cross Card. Try this technique, then upload your artwork to the gallery. Show us your creations!
***Please note - Internet Explorer/Edge is not a supported browser, and will not allow you to see the videos. Please use Chrome, Firefox or Safari to view our tutorial videos.
Questions and Comments
We'd love to get your feedback or questions. Leave your comment below.
Thanks,
Marie
You need to read Step 4 and 5 together. You have two pieces of cardstock that you tape together on the rectangle portion. The triangles will make your card front.
My friend and I are making these for my baby shower invitations. I'll be using 2 patterned papers (one for each triangle side) and a solid color for the base of the card pocket, another solid for the base of the actual card (inside) and another solid (light colored) for on top (to do the printing on). Soo.. 5 different kinds of paper. Is there any way you can tell me how many sheets of each I'll need? (I will be buying 12x12 paper) Thanks so much to anyone who can help!!:)
Don't know if you need this information yet or not, but I will leave it here just in case.
It is really hard to tell you how much you need without knowing how many invites you are making, but I'll do my best.
You can get 6 triangles out of each piece of patterened paper. So 1 of each pattern will make 6 invites.
You need 1 piece of the solid cardstock for each card base.
For the base of the insert card you can make 6 for each sheet of cardstock, and for the solid color that goes on top(the one you will print on) of that you get 6 from each sheet.
So inorder to make 6 invites you would need 1 of each pattern paper, 6 sheets of cardstock for the base, and 1 sheet of each of the cardstock for the insert. A total of 10 sheets of paper.
Make sense.
leave a comment on my blog if you have questions.
Thanks
I love your workshops.
And I want you to know, that I have a new blog for german workshops in german language.
I hope that it´s ok for you.
Ich placed a link to your workshop too.
If you want to look...
here´s my workshop in german for the criss cross card: http://heikesworksops.blogspot.com
Thnak you.
Hugs and kisses,
Heike
Thanks ever so much
Visit my blog I made a Tinkerbell planter today
Lynn in Lancaster Ca
The tab was punched with the round tab punch from Stampin' Up!.
Page 1 of 3 pages 1 2 3 >